Surfboard Leash Buying Guide: Length, Thickness and Attachment
A leash is the least glamorous thing you will buy for your surfing, and the one piece of kit you notice most when it fails. Get the sizing wrong and you spend the session dragging slack cord through every duck-dive, or flinching as your board snaps back towards you on the end of an over-stretched band. Get it right and you never think about it again. Three numbers decide almost everything: how long the cord is, how thick it is, and how it attaches to the board and to you.
Leash length should roughly follow board length. On a shortboard or hybrid, choose a leash the same length as the board, or half a foot longer. A 5'10" shortboard sits well with a 6' leash; a 6'4" step-up with a 6' or 7'. On a short, wide groveller, a long leash is a liability — the extra slack wraps around your legs and the rail during duck-dives, and the board feels vague and laggy when you are paddling out through whitewater.
Longboards are the exception. If you walk to the nose, the board needs room to sit behind you without tugging. Most longboarders run a leash at board length or a foot longer: 9' on a 9' board, 10' on a 9'6" noserider. Push much beyond that and you are back to tangles.
Length also changes what happens after a wipeout. A short leash keeps the board close, which is reassuring in a crowded line-up but brings it back at you quickly. A longer leash lets the board travel further before the cord comes tight, which can feel calmer in a big closeout but gives the cord more chance to wrap around you or another surfer. There is no perfect length, only a sensible range for the board under your feet.
Cord is measured in millimetres, and most surfing leashes sit between 5mm and 10mm. Thin cord is light, low-drag and fast through the water, but it stretches further under load and wears out sooner. Thick cord is stronger and holds its shape, but it weighs more and creates noticeable drag when you are paddling.
As a rough guide: 5mm and 6mm comp leashes suit small, clean waves and lighter boards; 7mm is the all-round choice for shortboards in everyday conditions; 8mm and up belongs on longer, heavier or higher-volume boards such as mid-lengths, longboards and SUPs. A 10mm leash on a 5'8" thruster in waist-high surf is just extra weight. A 6mm comp leash on a longboard in overhead surf is asking for a long swim.
The board end of a leash matters as much as the cord. The leash string is the short cord threaded through your plug — keep it short and knotted tight, because a long string gives the rail saver more leverage to chew into the tail. Check it for fraying before every session; it is the cheapest part to replace and the most annoying to lose.
The rail saver is the webbing loop joining that string to the cord. It should be at least as wide as the rail it rests against, otherwise the cord cuts a groove into the glass and, eventually, into the foam. If your rail saver is narrower than your board's tail, buy a wider one.
Cuffs come in three main placements, and the choice is about comfort rather than performance:
Swivels stop the cord twisting itself into knots. One is fine on a short leash; a double-swivel setup is worth the small extra cost on longer, heavier leashes and for long sessions. Rinse the swivels in fresh water and check they spin freely — a seized swivel is usually the beginning of the end.
A leash gives warning before it goes. Stretch the cord out and look along its length: pale, chalky patches and thin spots mean the urethane is perishing, and those areas fail first. Look closely at both ends, where the cord meets the swivels, since that is where most breaks happen. Run a thumb along the rail saver and the leash string for nicks and frayed stitching.
Replace rather than repair. A snapped leash means leaving your board to wash in while you swim, and in a crowded line-up a loose board is a genuine hazard to everyone else. If you surf several times a week, expect to retire a leash long before the cord looks broken. If you have taken a beating on a shallow reef, treat the leash as suspect even if it looks fine.
A word on safety: a leash is not a substitute for swimming fitness, and it should never be used to tow anyone, wrap around your hand or arm, or pull a board towards you in a way that puts the cord under tension near your face. In shallow reef, know how to release the cuff quickly.
Buy one good leash in the right length and thickness rather than three cheap ones in the wrong sizes. It is a small cost next to your board, and it is the difference between a quick duck-dive and a long, cold swim back to the beach.
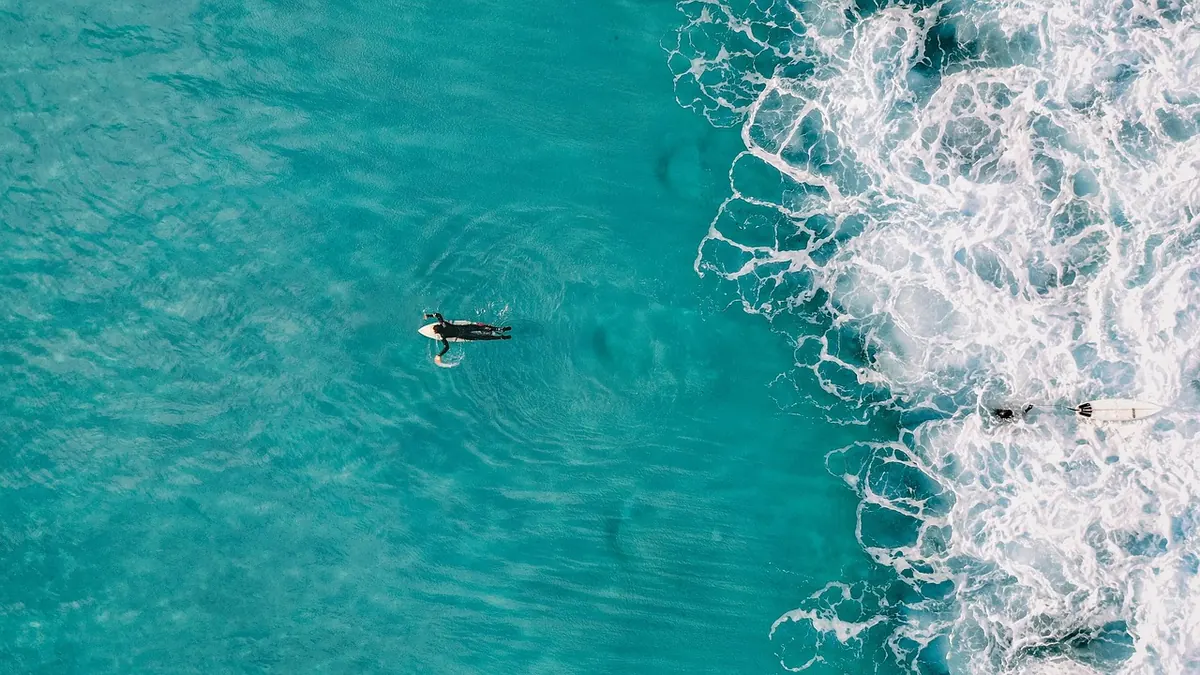
Photo: kirildobrev / Pixabay
Previous Post
When and Where to See Basking Sharks in the UK
Next Post
Surfing in Winter: How to Stay Warm and Safe in UK Waters